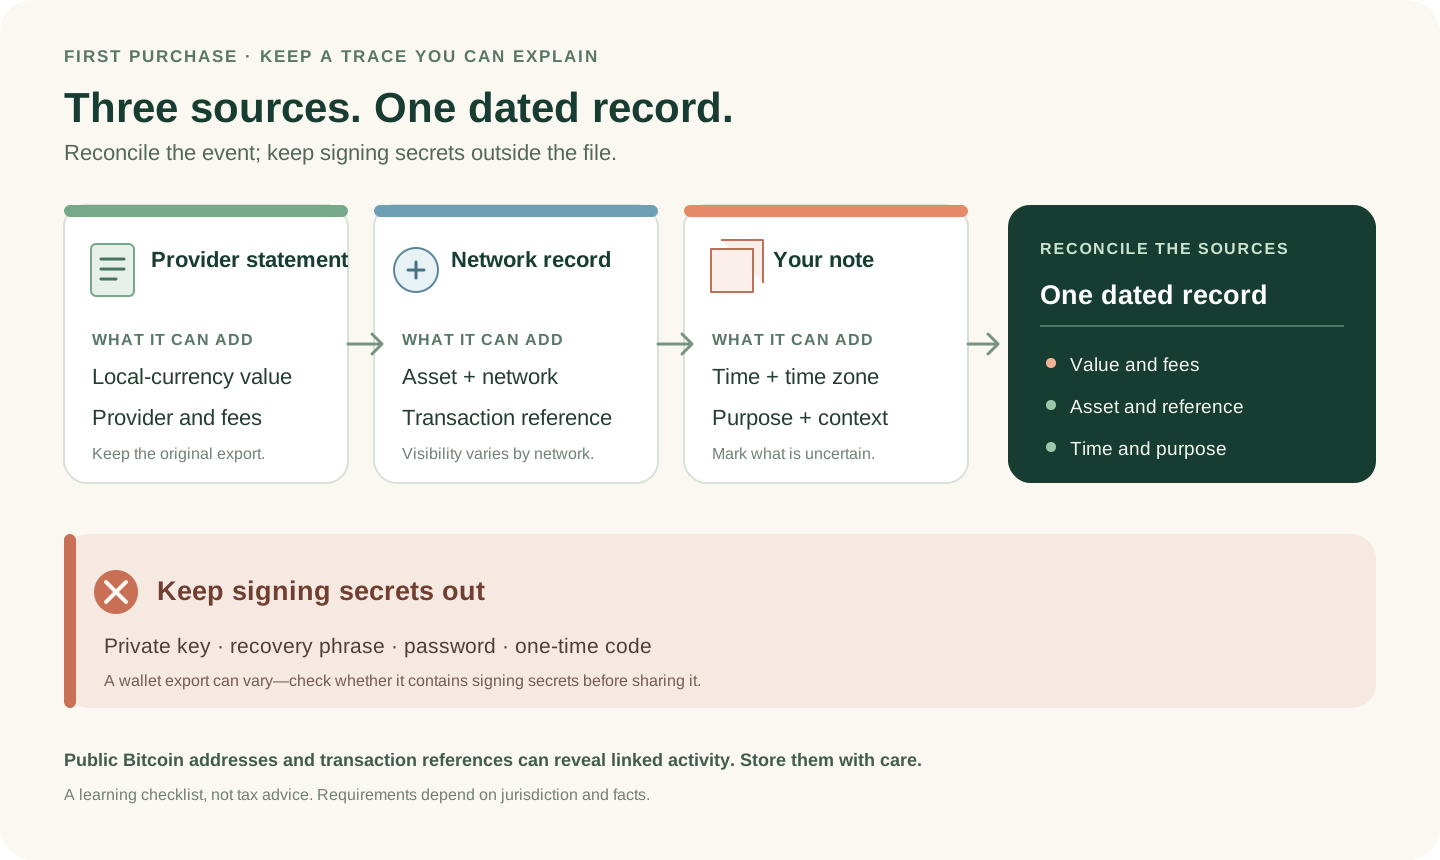
This guide is educational, not personalized financial, legal or security advice. A checklist reduces avoidable mistakes; it cannot make a transaction risk-free.
A test transfer can expose some mistakes, but it does not prove the destination is trustworthy or guarantee a later transfer. Recheck every field.
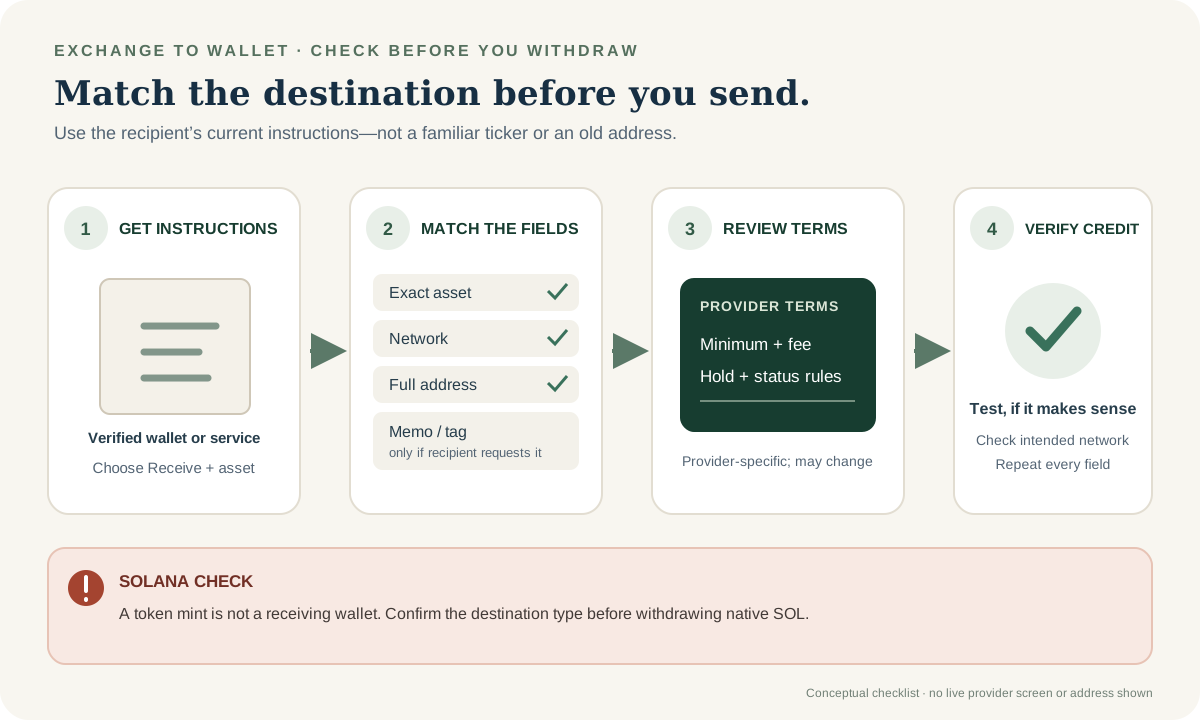
- Open the genuine receiving wallet or service and read its current deposit instructions for this asset and network.
- Match the exact asset, network, full destination address and any memo or tag the recipient explicitly requests.
- Review the exchange's current minimum, fee, hold and completion rules; these are provider-specific and can change.
- Use a small test only if its fee and minimum make sense; verify the asset is credited on the intended network, then repeat every check before a larger withdrawal.
The exchange offers two networks for a token with the same ticker. Which recipient instruction would you verify before selecting one, and what should you recheck before the larger withdrawal?
Start with the receiving wallet
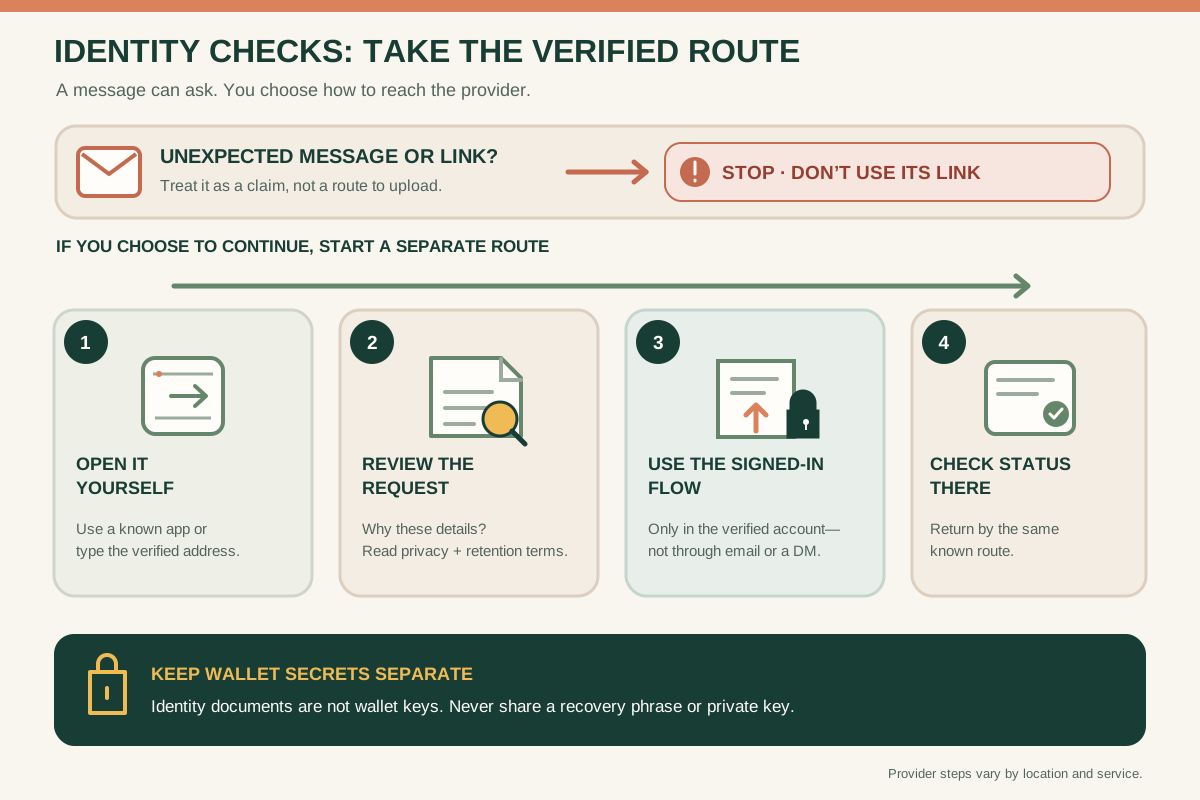
Open the genuine wallet or recipient service using a route you verified independently. Choose Receive, then read its current instructions for the exact asset and network. A ticker or matching-looking address is not enough: ethereum.org's wallet guide notes that tokens can exist on multiple networks and that the sender and recipient must use the same network; support for an address or token is wallet-specific. Compare the network as well as the full destination.
On Solana, a token mint identifies a token; it is not a general receiving-wallet address. Solana's address guidance warns that native SOL sent to an incorrect account can succeed and become unrecoverable. Solana's cluster docs describe Mainnet, Devnet and Testnet as separate clusters, and say Devnet and Testnet tokens are not real; do not use a test-cluster destination for a real withdrawal. Use the destination type and instructions provided by the receiving wallet, not an address copied from a token page.
Match the withdrawal details
Before you approve anything, compare these fields between the exchange's withdrawal screen and the independently opened receiving instructions:
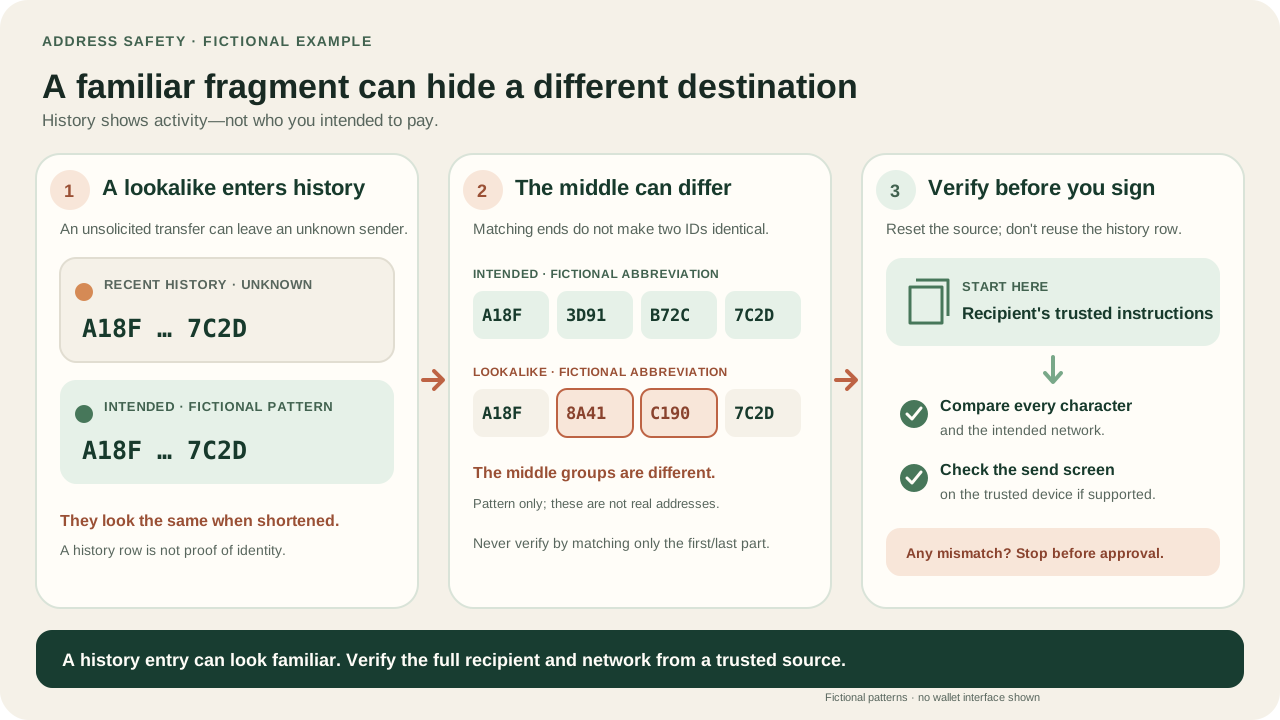
1. Asset: confirm the exact asset, not just its ticker or logo. 2. Network: select the network the recipient supports for that asset. Networks are not interchangeable just because the token name matches. 3. Full destination: compare the complete address. Do not trust only the first and last characters or copy an address from recent history; see address poisoning. 4. Memo, tag or account reference: include one only when the destination's current instructions request it, and check that it belongs to this deposit. Requirements vary by provider. 5. Amount and provider rules: read the withdrawal minimum, fee, any hold, and what the service counts as a completed withdrawal. These terms are provider-specific and can change.
If any field differs or the destination instructions are unclear, stop. Do not guess, and do not let familiarity with a previous transfer replace a fresh check.
Decide whether a test transfer makes sense
A small test may reveal some address or network mistakes, but first account for the exchange's minimum and fee: the test can cost money and may be too small to satisfy the recipient's crediting rules. A successful test does not authenticate the destination, guarantee a later transfer, or remove the need to compare every field again.
If you make a suitable test, use the recipient's official app or a trusted explorer on the correct network to confirm that the expected asset was credited. A submitted or processing status is not the same as a balance you can verify at the intended destination. Before any larger withdrawal, repeat the full comparison; then keep the transaction reference and fee for your records. For wallet access and recovery responsibilities, continue to Bitcoin wallets explained.
Check your understanding.
What must be rechecked after a successful test?
A correct answer records local learning progress, not a qualification or proof of financial readiness.
Put this lesson in context
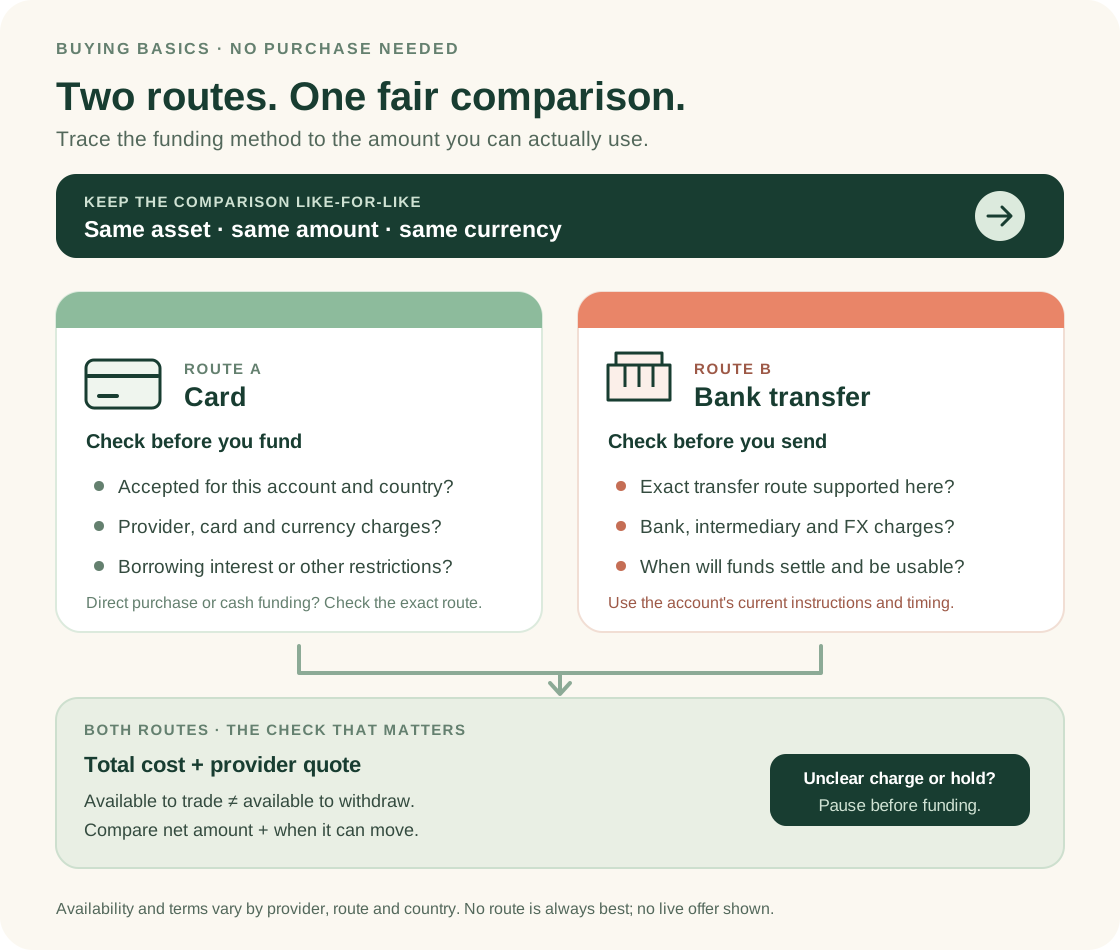
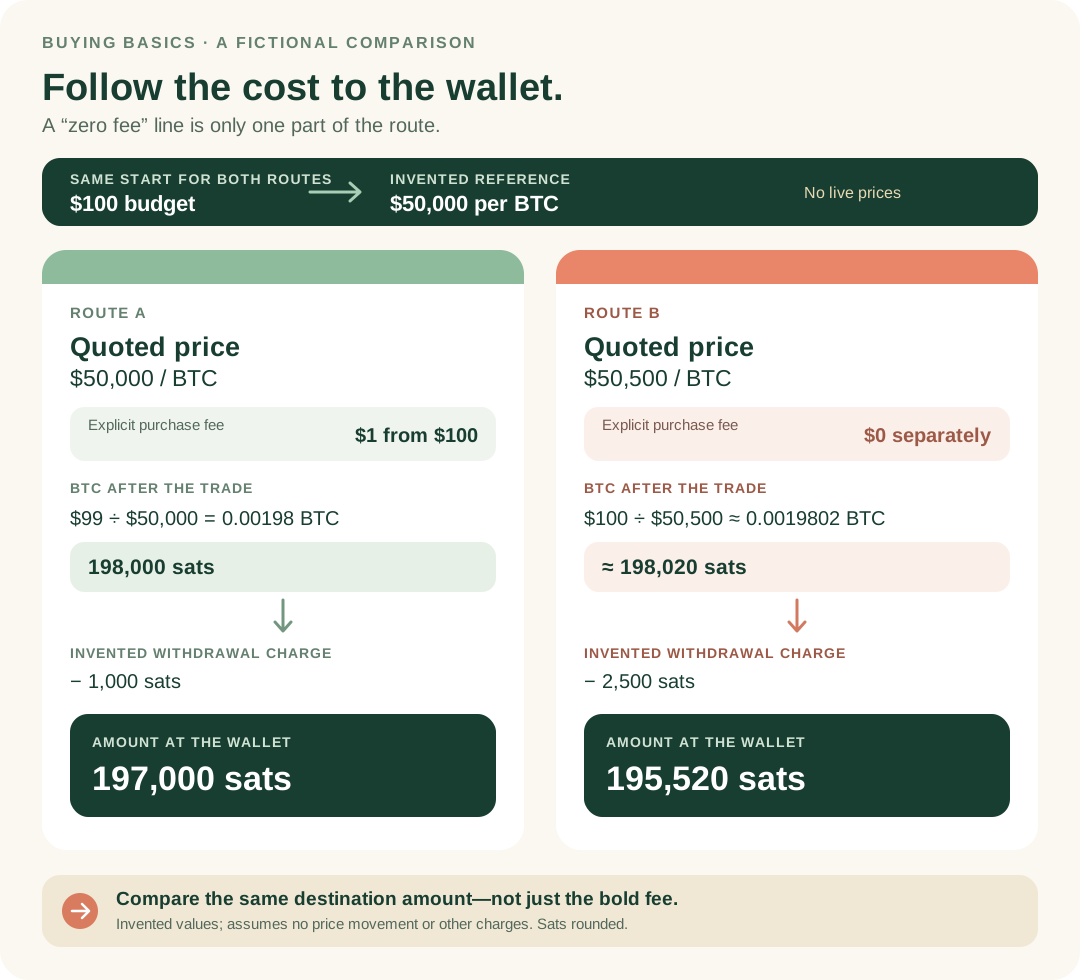
Compare the whole process, including custody and withdrawal costs, before choosing your next lesson.
Sources & context
- ethereum.org — How to use Ethereum Wallets ↗Consulted 2026-10-05
- Solana documentation — Verify Address ↗Consulted 2026-10-05
- Solana documentation — Clusters and Public RPC Endpoints ↗Consulted 2026-10-09
Original educational content prepared for this project. Sources provide context, not endorsement or a guarantee that every statement remains current. Rules, product interfaces and availability can change.
Keep learning in Telegram.
Open this published guide in the learning bot. No account connection or wallet is needed.
Join the $STONKB community.
Follow project updates, share useful ideas and meet other builders. You do not need to buy $STONKB to join.
Take what you learned.
Leave the pressure behind.